How to Paint Watercolor Tulips
One of the most common floral tutorials that artists love is learning how to paint watercolor tulips.
Tulips are relatively easy to paint which makes them the perfect subject matter for beginners who’re learning how to paint watercolor florals.
So, one of the best places to start is by painting tulips in a minimalist watercolor style.
That way it’s easier for you to learn the basic structure and shape of a tulip without getting lost in all the intricate details.
Materials You Will Need
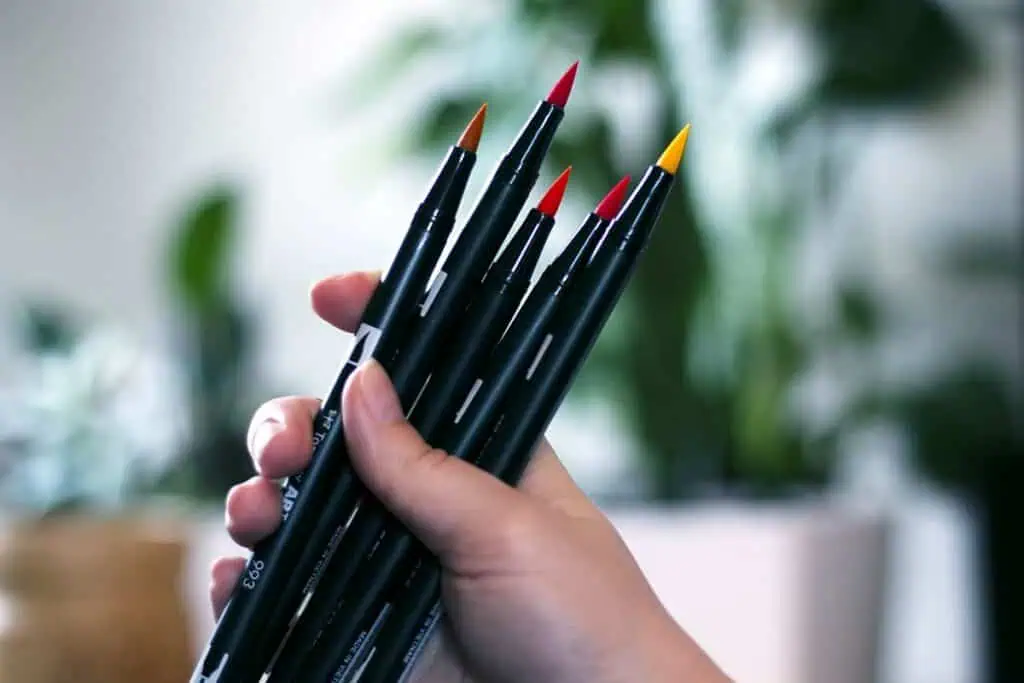
Before you begin, make sure you have these basic watercolor supplies:
- Watercolor paper
- Red or pink watercolor pigment
- A round paintbrush in size 4 or 6
- Two jars of clear water
- A mixing palette
- A cloth or some tissues (optional)
When you’re ready, proceed to the next section to follow along with the tutorial.
Step-by-Step Watercolor Tulip Tutorial
- Dilute your red or pink pigment with some water. Then, load up your paintbrush with the watery pigment.
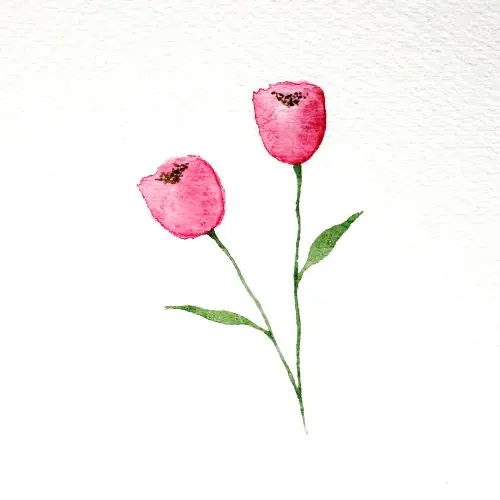
- Apply light pressure on your paintbrush and paint two oval shapes side by side using the wet on dry technique. They should connect at the bottom to create a rounded V shape. These strokes represent the outer petals of the tulip.

- Next, rinse the pigment out of your paintbrush and then load it up with a bit of clean water. Use the tip of the brush to blend the upper half of the tulip and leave a bit of the center white. Then, add a little more of the red/pink pigment to the right side of the tulip to create some shadow.
- Wait for the layer to dry.

- After the first layer has dried, load up your paintbrush with green pigment. Start at the base of the tulip and then slowly drag the tip of the paintbrush down the page. Make sure this brushstroke is evenly thin and, ideally, try to paint the stem in one long stroke. Also, to make the tulip look more organic, make sure the stem is slightly wavy and not straight.

- While this second layer is still wet, load up your paintbrush with more green pigment. Apply medium pressure on the bristles to create a long, thin leaf using the wet on dry technique. If your paintbrush has a pointed tip, use the tip to elongate the leaves.
- Wait for the layer to dry.

- Lastly, load up your brush with a little bit of dark brown pigment. Your paint-to-water ratio should be about 75% paint to 25% water on your brush. Holding the brush vertically, use the tip to stipple a bunch of tiny dots in the center of the tulip. Dab the dots in a subtle V shape to give the tulip more of a rounded shape.
- Wait for the layer to dry.

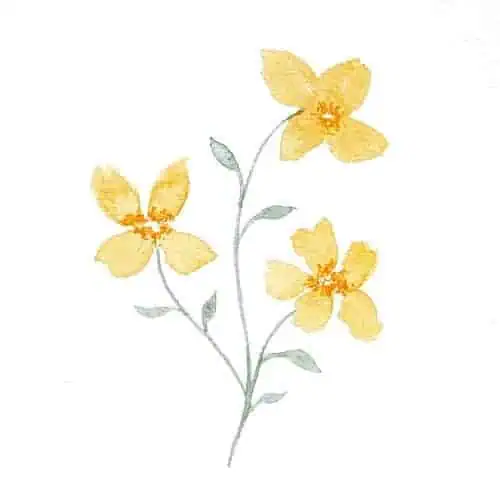
Paint More Watercolor Flowers: Next Steps
As you’ve learned in this how to paint watercolor tulips tutorial, painting watercolor tulips is easy once you understand the basic principles.
But to enhance your watercolor florals, you’re going to need to learn how to apply more than just the wet on dry technique.
Fortunately for you, Foxsy has an excellent course titled Watercolor Basics which teaches you all the essential watercolor techniques that’ll set your paintings up for success.
So, click the link above to learn how you can enroll today!


Responses