Basic Steps to Heat Embossing
As a beginner, you must understand the basic steps to heat embossing to ensure you do everything in the correct order.
Because if you don’t, you’re going to create a mess.
But fear not! It’s a fairly straightforward process.
And luckily for you, this tutorial is breaking down the step-by-step process so that you know how to get started with heat embossing.
So, let’s get started!

What Do You Need for Heat Embossing?
Before you begin any embossing project, you need to make sure that you have all the right materials.
A basic heat embossing kit should include the following supplies:
- Embossing powder: It’s plastic dust that melts when it encounters heat. When heated, the powder melts into a shiny, glossy material.
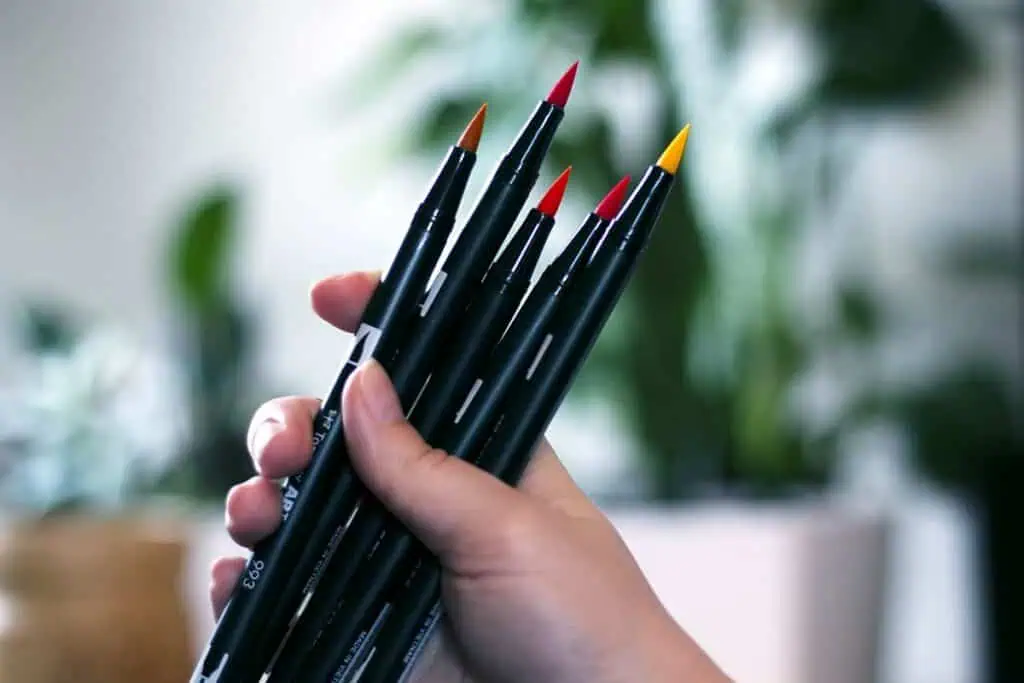
- Embossing ink: The ink comes in pens or stamps. This ink differs from regular ink because it stays wet much longer.
- Heat gun: It melts the particles in the heat embossing powder to give it a shiny, glossy coating.
- Powder bag: It reduces the amount of static and grease on the paper. You dab the bag all over the paper to make it more workable.
- Cardstock: Do your heat embossing projects on cardstock because this thicker paper works better than thinner paper.
- Small brush: A brush is useful for brushing away spare particles that you don’t want on your paper or around your workspace.
- Stamps: You can use stamps with the inkpad to add extra flair to your projects. This supply is optional.
Keep in mind that you cannot use a hair dryer to replace a heat gun for embossing because it’s not hot enough to melt the embossing powder.
As well, it should be noted that you cannot emboss with regular ink because heat embossing pens and ink stay wetter much longer than regular inks or pens.
For more information, head over to this blog post to learn about our recommended heat embossing supplies.

How Do You Emboss for Beginners?
Embossing is easy to do once you know the order in which to do the steps.
Just follow these simple step-by-step instructions to get started:
- Take out all your supplies and plug in your heat gun.
- Dust your cardstock paper with the embossing powder to reduce static.
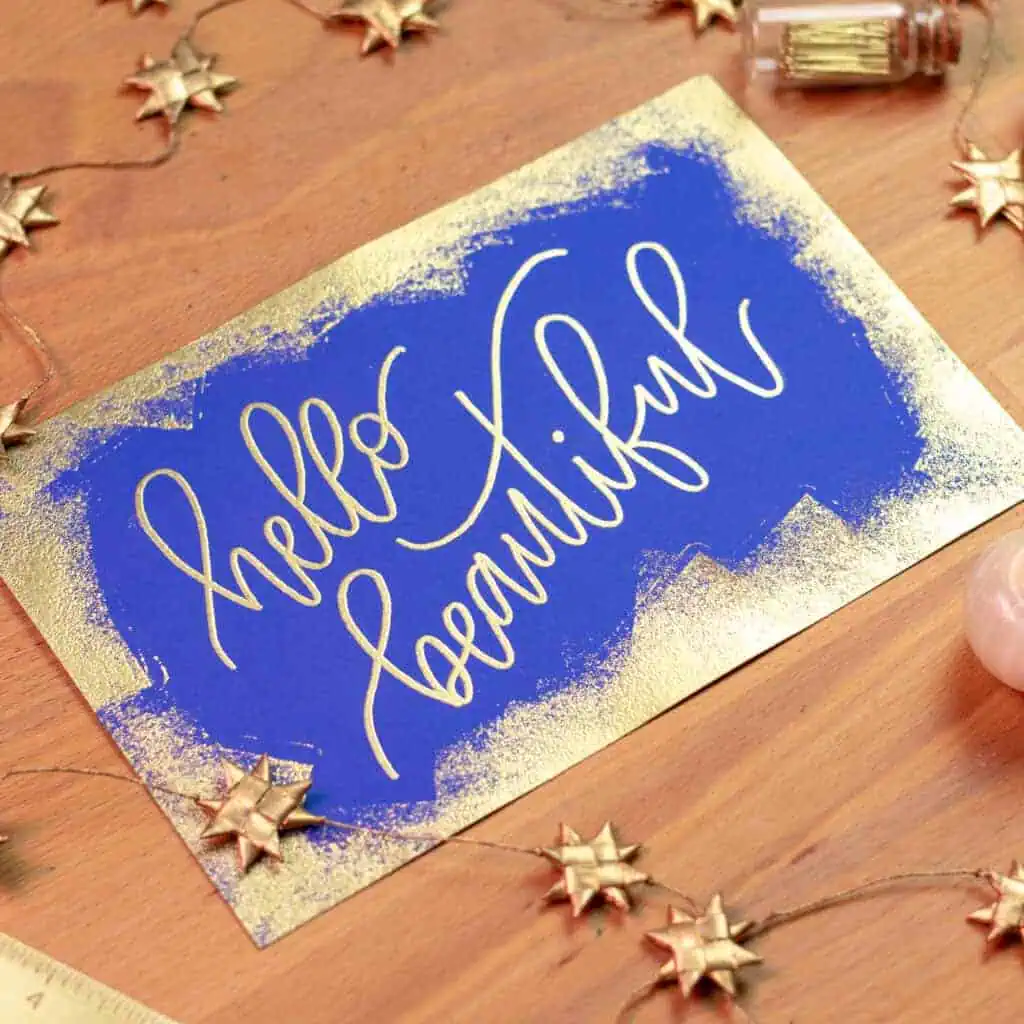
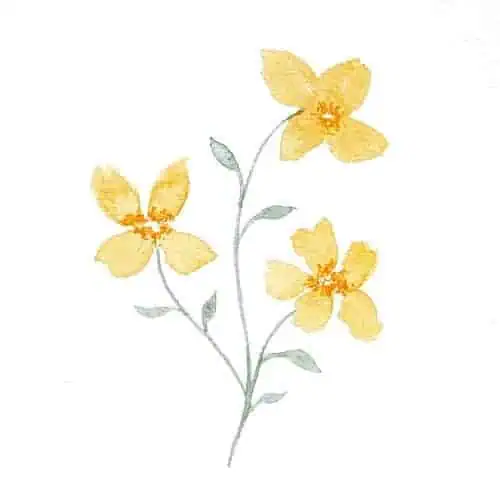
- Create a design (a word, a flower, a butterfly, etc.) on the cardstock by using the embossing ink. Black ink works well because it’s dark and easy to see.
- Cover the ink with the embossing powder.
- Get rid of the excess powder by brushing away and spare particles. Dump the excess powder back into the container in which it came so that you can reuse it.
- Use the heat gun on a low setting to heat the embossing powder until it melts. As the powder melts, the matte powder will begin to turn shiny.
The final project will look beautiful, shiny, and glossy.
Beware, though!
Why? Because it’s important to note that not all household items can be heat embossed.
Embossing for Beginners: Next Steps
Now that you understand the basics, you can tackle even more creative embossing ideas.
That means you’re ready to enroll in Heat Embossing Essentials: Add Shimmer And Shine To Your Work!
In this beginner-friendly course, you join Shelby Abrahamsen as she shares her best tips, tricks, and wisdom to set you up for success with your embossing projects.


Responses