How to Paint Watercolor Florals for Beginners
Did you know that learning how to paint watercolor florals for beginners is one of the easiest ways to get started with watercolor?
It’s true!
Contrary to popular belief, you don’t have to start by painting realistic flowers. In fact, it’s smarter to first learn how to paint simple flowers.
This way, you can easily render watercolor flowers by breaking them down into simple shapes and brushstrokes.
Materials You Will Need
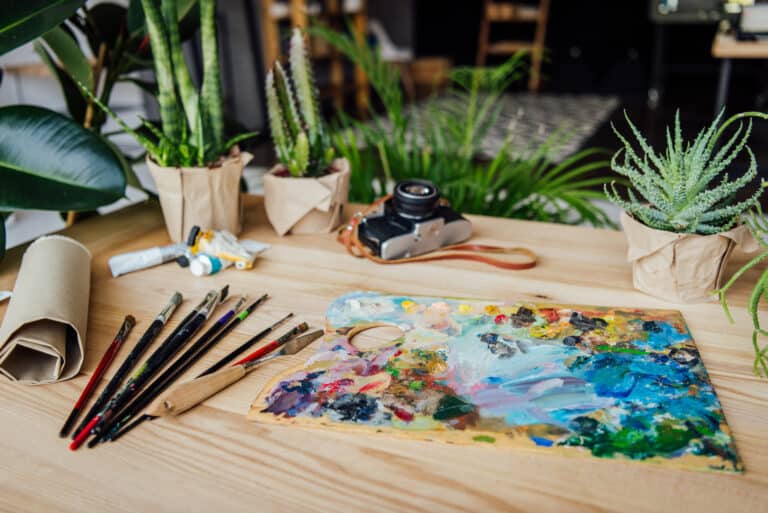
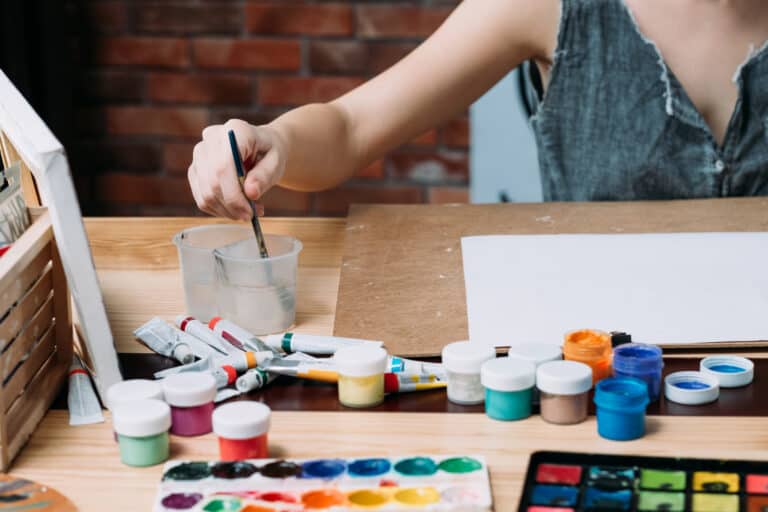
Before you start, it’s best to take out your watercolor supplies. For this tutorial, you’ll need the following:
- Watercolor paper
- Watercolor paints (a color of your choice plus green)
- A round paintbrush in size 4 or 6
- Two jars of clear water
- A mixing palette
- A cloth or some tissues (optional)
Gather your art supplies, set up your workspace, and then proceed to the next section.
Easy Watercolor Flowers Tutorial for Beginners
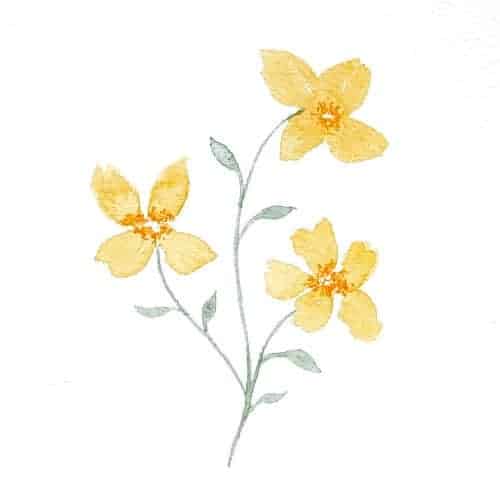
- In a mixing well, dilute the pigment that you’ve chosen for the petals of your flower. In this tutorial, we’re using an orange-yellow mixture. Load up your brush with a 50/50 ratio of paint to water.
- On the right side of the page, identify the center of the flower so that you can leave this area white. Then, use the tip of your paintbrush to dab four small petals around this central point using the wet on dry technique. Each petal should be somewhat oval and loose.
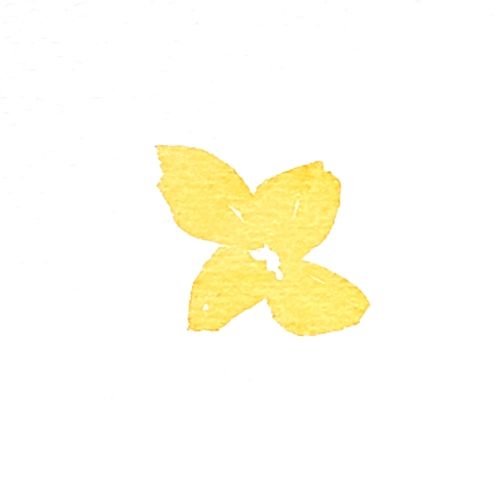
- Use the same technique from step two to create another cluster of petals on the right side of the paper. In terms of composition, this second flower should be located below the first flower.
- Then, paint the last flower on the left side of the page. This third flower should be positioned in-between the first two flowers and off to the left side. As well, make sure that there is space between each flower so that none of their petals are touching one another.
- Wait for the layer to dry.
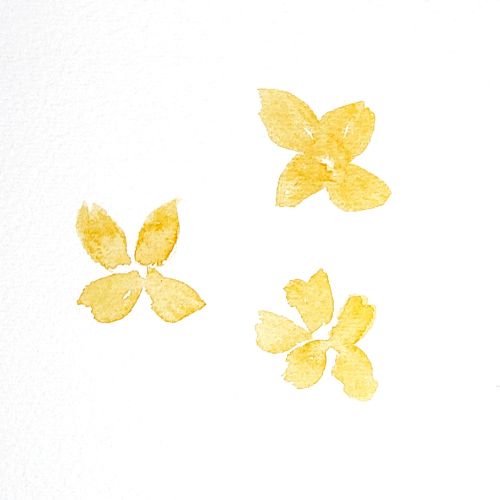
- Next, rinse off your brush and then dilute some green pigment into the mixing well. Again, load up your brush with a 50/50 ratio of paint to water.
- Use the very tip of your brush to paint thin green lines that start at the base of each flower. These thin brushstrokes represent the flower stems. Carefully pull the bristles down the page until all three stems converge into one.
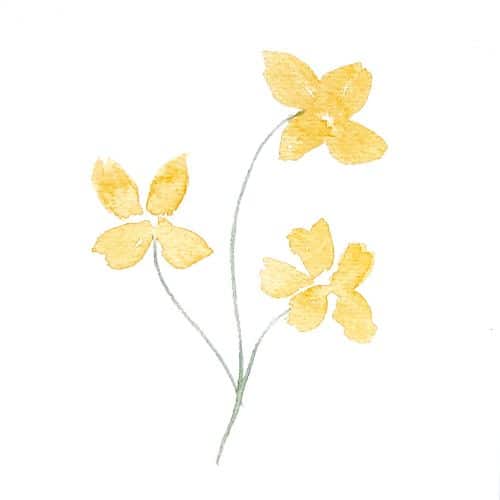
- Once the stems are painted, you need to add some leaves. Dab a small amount of paint near the stem and then pull it away from the stem in one simple, curved motion. Repeat this step for each leaf that you paint.
- Wait for the layer to dry.
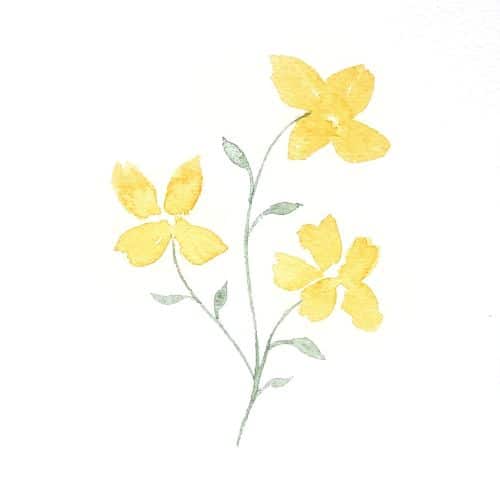
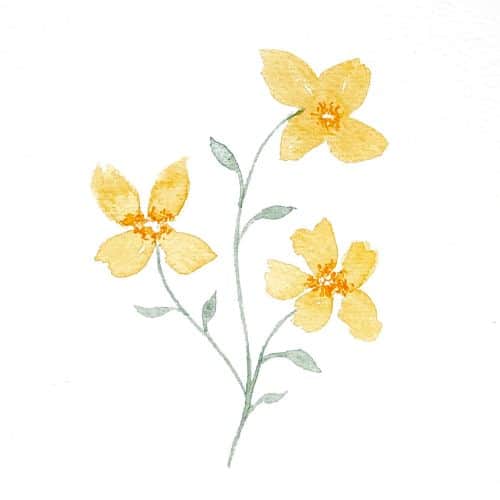
- Lastly, load up your paintbrush with the pigment you used for the flowers, but make sure the paint to water ratio is 75% percent paint and 25% water. Then, hold your paintbrush vertically and use the tip to stipple a bunch of tiny dots in and around the center of the flower. These seeds should appear darker than the color of the petals.
- Wait for the layer to dry.
Improve Your Watercolor Flowers: Next Steps
Painting simple watercolor florals is fun because it only takes five to ten minutes to paint each flower.
That being said, sometimes it’s hard to know how to paint flowers when you don’t even know their basic composition.
Luckily for you, Foxsy has the perfect solution!
Now is the best opportunity to join Masha in her awesome course Floral Doodles: A Beginner’s Guide To Drawing!
This course perfectly compliments any watercolor artist who wants to improve their watercolor florals because in it you learn how to design many types of flowers to use in your paintings.
